Ingredients List
The list of registered raw materials can be viewed in the list of registered raw materials.
The screen display can be selected from two types of displays: icon and list, with the initial display being the list display.
The initial view is the list view, which can be switched by clicking the icon in the upper center of the screen.
The contents of the list can be narrowed down by entering criteria on the left side of the screen.
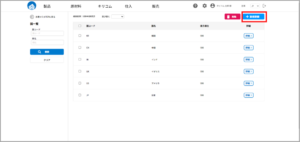
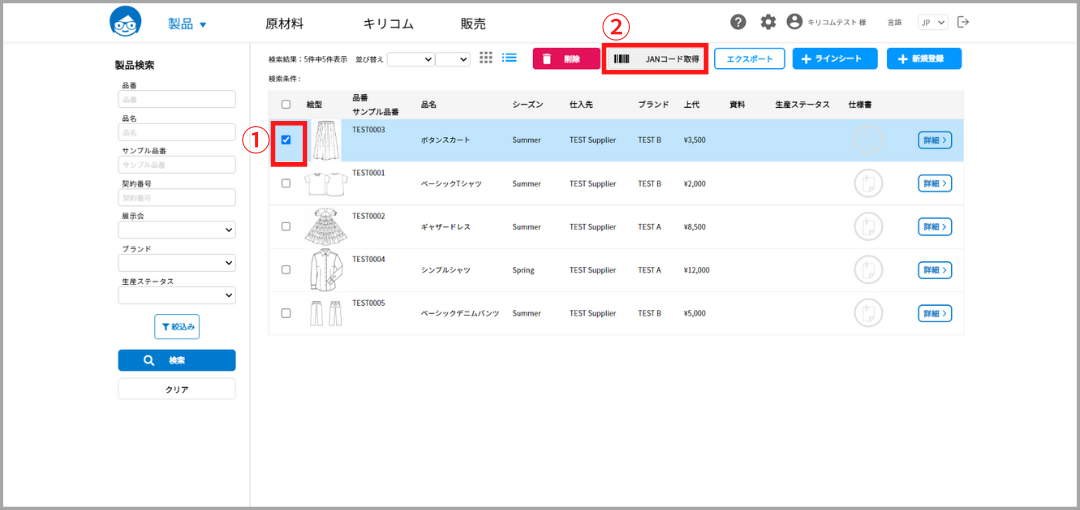
1.list view
Items appear in the list in the order in which they were updated.
To change the order of the list, use the sort pull-down at the top of the screen.
Press the “Details” button to the right of each column to go to the Raw Materials Details screen.
The main functions available from this screen are listed below.
Each is operated from the icon in the upper right corner of the screen.
(From left to right)
・deletion
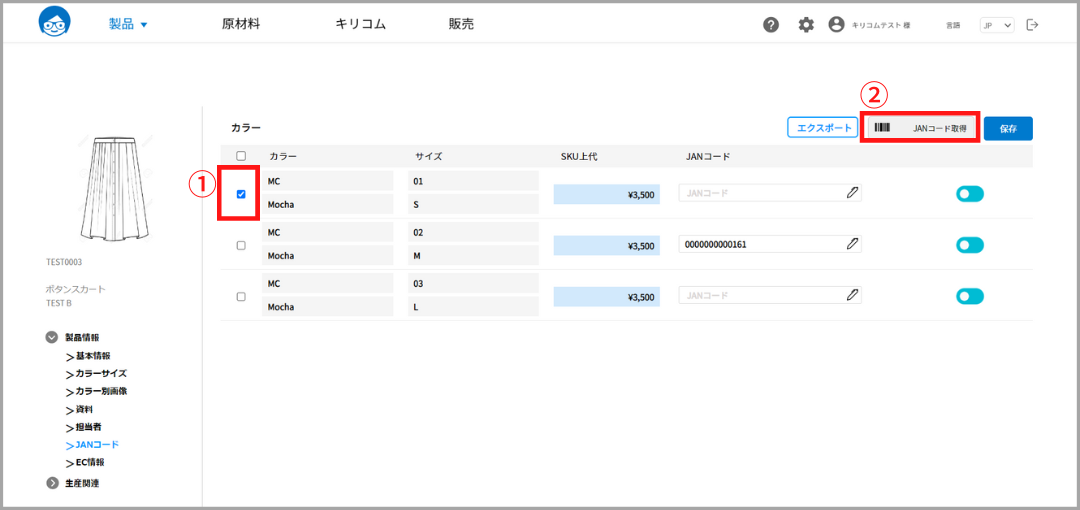
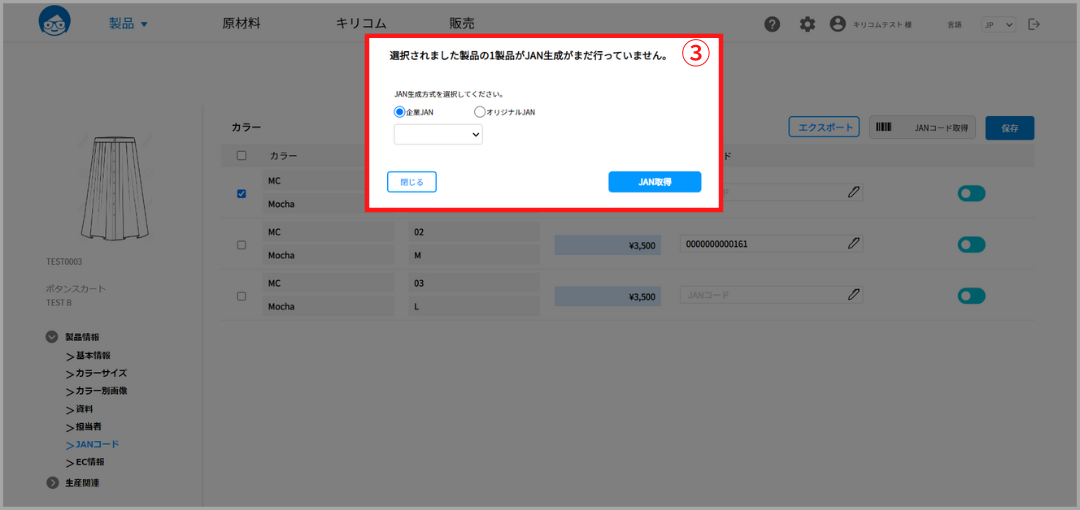
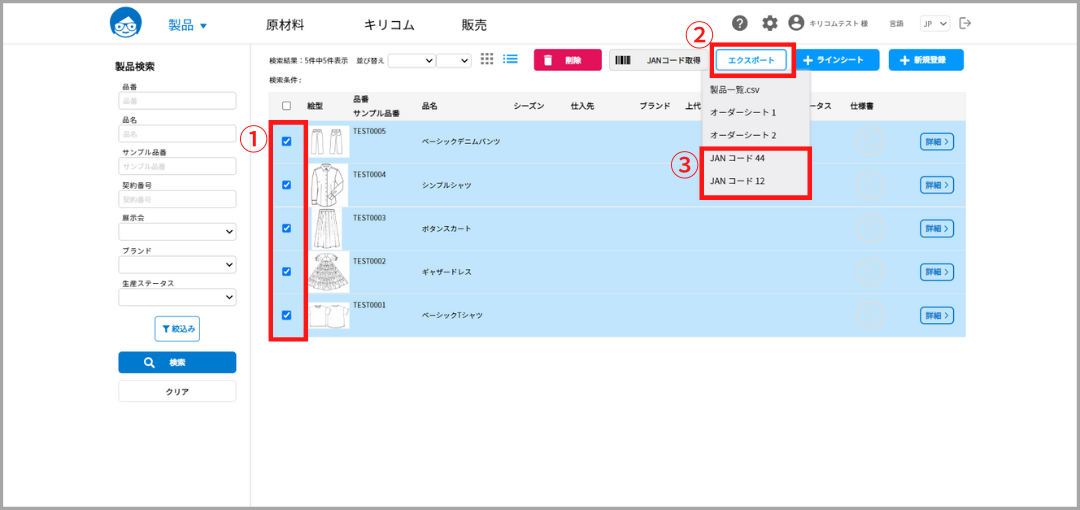
・export
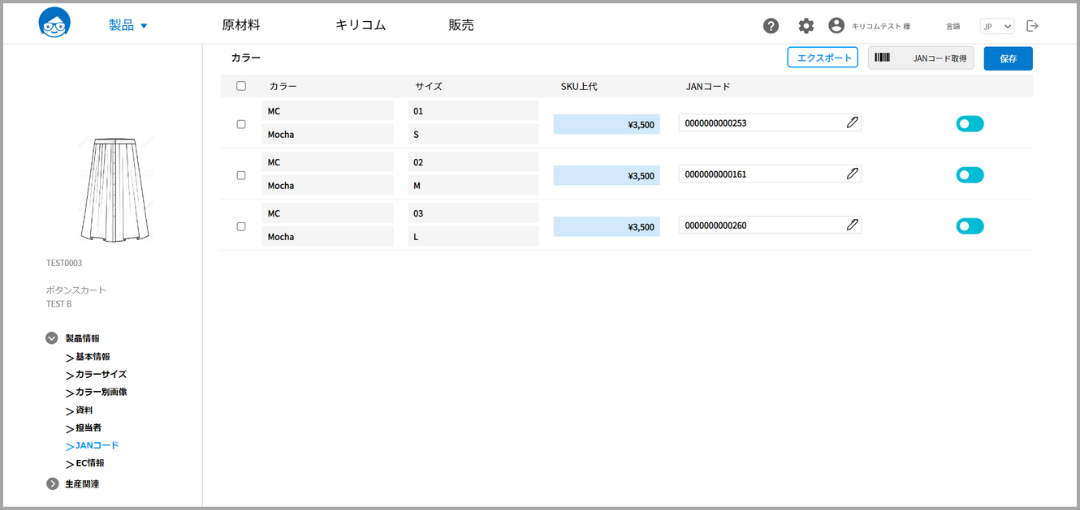
・JAN code acquisition
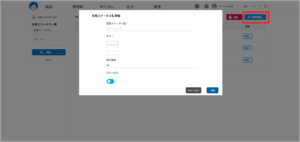
・Create New
2.Iconic Iconic Iconic Iconic Iconic Iconic Iconic Icon
Items are displayed as icons along the grid.
To change the sort order, use the sort pull-down at the top of the screen.
Clicking on an icon will take you to the raw material details screen.
The main functions available from this screen are
The operation is performed from the icon in the upper right corner of the screen.
・Create New