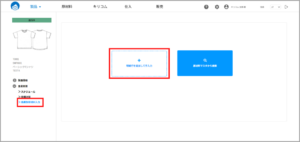
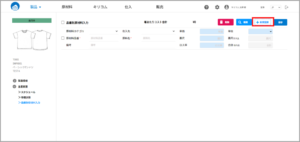
1 HOMEProducts→Product List [Details]→Open the left menu of the screen [EC Information]→[Dimension Table].
2 Press the Create HTML button in the upper right corner to create it.

1 HOMEProducts→Product List [Details]→Open the left menu of the screen [EC Information]→[Dimension Table].
2 Press the Create HTML button in the upper right corner to create it.

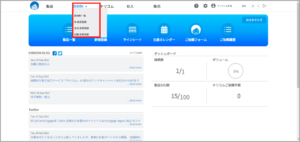
1 HOMERaw Materials→New Registration for each Raw Material or Raw Material List→Click [+New Registration] button on the upper right corner, select the desired raw material category, and press the button.
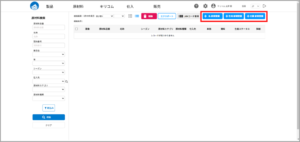
Make sure that the main raw material category is the one you selected on the registration screen.
Register each item and click [Save].
The raw material part number and raw material name are required items.
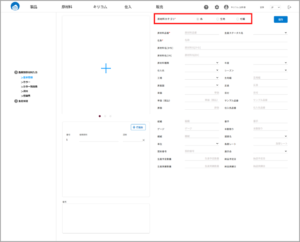
1 HOMEProducts→Product List [Details]→Product DetailsPress the product-related [Raw Material Information] on the left menu
Go to the screen for registering raw materials, press [+Add line to enter raw material] to move to the list.
(It is also possible to register from the registered raw material master)
2 Press [+ New Registration] in the upper right corner to display a frame for registration.
Register the item and press [Save].
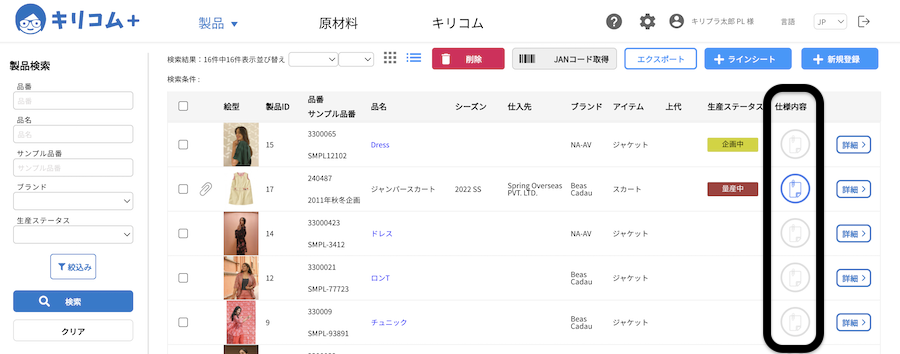
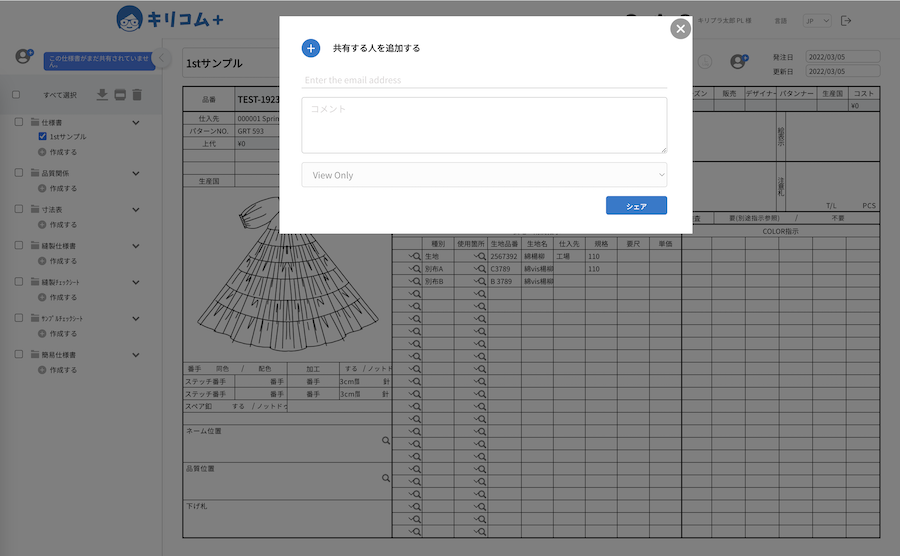
1 HOME Products→Product List→Press the 📄 icon for the specifications you want to share.
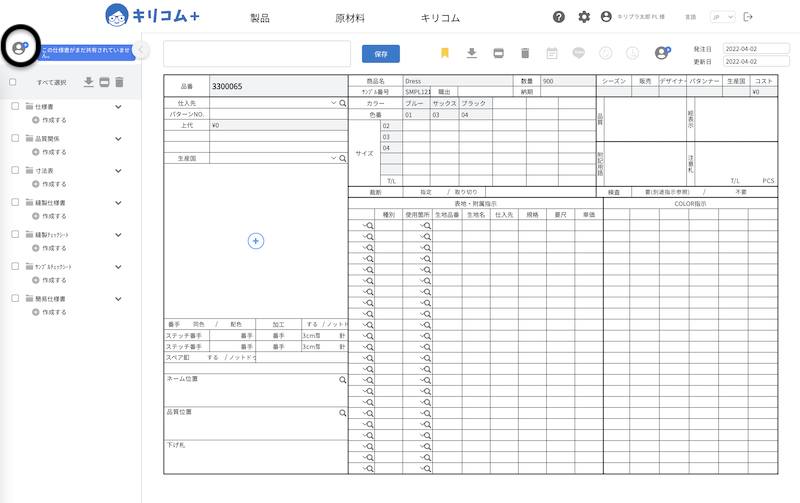
2 Go to the specifications screen
From the left menu, enter ✔︎ in the specifications you want to share and press the icon in the upper left corner.
3 Add the email addresses of the people you want to share with, and [SHARE].
1 HOMEProducts→Push the 📄 icon of the part number for which you want to create a specification sheet from the product list.

(Light gray icons for part numbers without specifications, blue for those with specifications)
2 Go to the specifications screen
Select and create a specification from the menu on the left, then [Save].
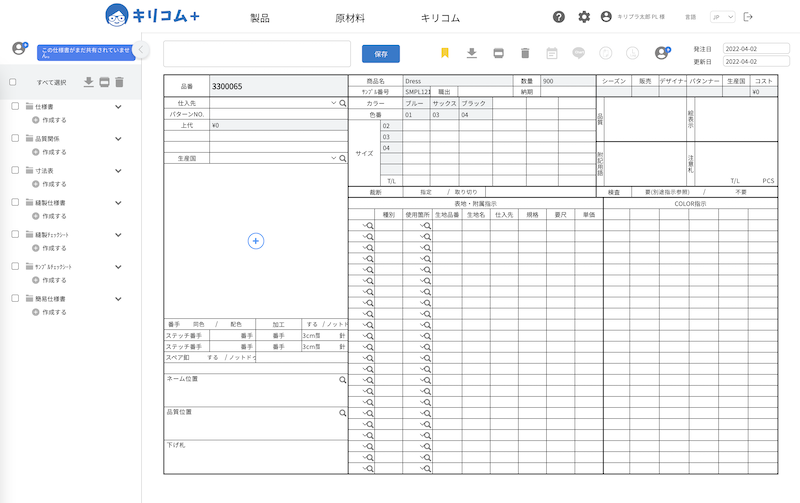
3 When a specification is created, the 📄 icon in the product list turns blue
For detailed input of each specification, please contactthis way (direction close to the speaker or towards the speaker)for more information.

1 HOMEProducts → Product List
Select the product you want to output from ✔︎, then select the output type.
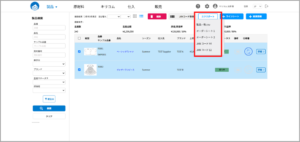
The form of the order sheet can be selected
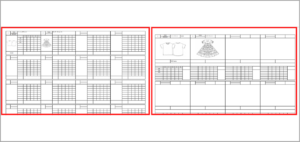
2 Output according to the screen
Once the production status is set,

The product details and line sheets can be displayed on the image, making it easy to grasp and share the status of the product.


You can freely set the items and colors to be displayed.
In order to set production status for each product, it is necessary to register a master.
The master registration procedure isthis way (direction close to the speaker or towards the speaker)
1 The production status of each product is set in the product details
Click HOME Products → Product List [Details], select from the pull-down list from Production Status and enter the information.
2 Once set, it will appear above the photo.
cost accounting

With Kirikom Plus, you can create and compare 4 patterns of costing
(We are planning to release a function for prorating raw materials and processing by part number and an automatic prorating function based on actual results in the near future.)
1 HOMEProducts → Product List → Go to Product Details screen
2 Click [Cost Accounting] in the menu on the left side of the screen.
Enter the necessary items from screen 1 to 7, and then enter ✔︎ for the items to be recorded and click [Confirm].
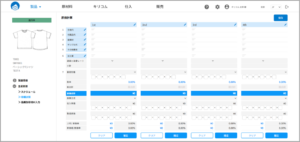
point

Item names can be customized for items marked with 🖋.

(The trade form and the profit method need to be registered in the master in advance.
(Register in HOME Various Masters → Production [Trade Format] [Profit-Making Method])
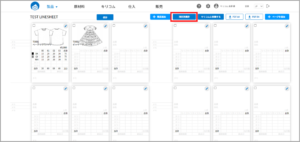
Creating a line sheet allows you to tally item composition, total production value, etc.
1 HOMEProducts → Product List → Register the aggregate items on the product detail screen
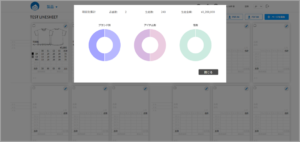
yen graspsF: by brand, by item, and by gender
aggregation:Number of part numbers, number of pieces produced, and total production value

2 HOMEProducts[Line Sheets] → [Details] → Line Sheet Display
Click on [Itemized Total] on the screen.
3 Aggregate results are displayed
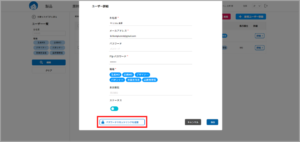
1 Press the ⚙ symbol in the upper menu to move to the various master screens.
2 Press [User] in the “Company/User Information” section, and then press [Details] for the user to be reconfigured.
3 Click [Reset Password] at the bottom of the screen, and an email will be sent to you to reset your password.
