
AI automatically acquires features from product images, and features can also be added or deleted manually.
Based on these features, AI generates product descriptions in multiple languages.


AI automatically acquires features from product images, and features can also be added or deleted manually.
Based on these features, AI generates product descriptions in multiple languages.
Creating a line sheet allows you to tally item composition, total production value, etc.
1 HOMEProducts → Product List → Register the aggregate items on the product detail screen
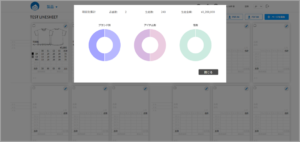
yen graspsF: by brand, by item, and by gender
aggregation:Number of part numbers, number of pieces produced, and total production value

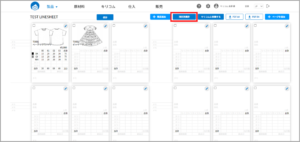
2 HOMEProducts[Line Sheets] → [Details] → Line Sheet Display
Click on [Itemized Total] on the screen.
3 Aggregate results are displayed
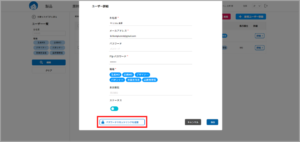
1 Press the ⚙ symbol in the upper menu to move to the various master screens.
2 Press [User] in the “Company/User Information” section, and then press [Details] for the user to be reconfigured.
3 Click [Reset Password] at the bottom of the screen, and an email will be sent to you to reset your password.
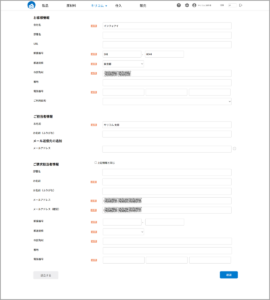
1 Press the ⚙ symbol in the upper menu to move to the various master screens.
2 Company/User Information [Company Information] → Go to the registration screen.
The information you provided when you registered as a member is reflected here.
Register or change the information, click “Confirm”, and “Save” if you are satisfied with the content.
The first user registered at your company will be the [Administrator].

The user will appear at the top of the list as [Administrator] in the user information.
1 If multiple people are using the system, please register as the administrator.
Click the ⚙ symbol in the upper menu → Company/User Information related [Company Information] to move to the User List screen.
2 Click [+ New User Registration] in the upper right corner of the screen.
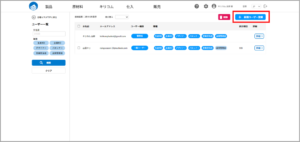
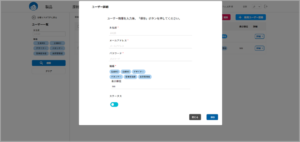
3 Go to the user details screen, register, and click [Save].
When you select a job title, it will also appear in the list.
1 Go to ⚙ mark in the upper menu → Product Related [Suppliers] → Suppliers List screen
2 Press [+New Registration] in the upper right corner of the screen.
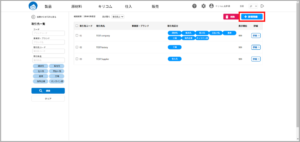
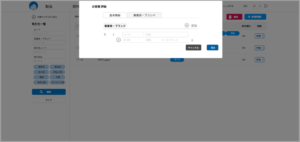
3 Display of customer information registration screen
Register the name of the business partner, contact person, e-mail address, address, etc.
In the Basic Information tab, the supplier code is a required field.
Once the supplier category is selected, it will appear in a pull-down list in the “Supplier” and “Factory” input fields of the product details and raw material details, allowing for selective input.

[You can also register a division/brand from the [Division/Brand] tab. In this case, the name of the person in charge and his/her e-mail address are required.
General items in the schedule are defaulted, but can be customized by the customer
1 HOME Various Masters → Production [Progress Control Items], and move to the screen.
(The default progress control items are registered.)
2 JP (Japanese) and EN (English) are registered by default.
(If you wish to switch languages, register both JP and EN)

3 The schedule items you set are reflected in the process names in the production schedule

point

If a progress control item (process name) is changed, all part numbers will be changed (not by the person in charge).
Once the production schedule is registered, the production calendar will display the image
1 HOME Products → [Production Calendar].
2 Go to the production calendar screen, and the image of the registered product will be displayed.
(If you have registered a schedule for a period of time, it will be displayed on the first day of the period)

3 Press the image shown in the calendar to view the production schedule
Scroll left and right to see the registered dates.
You can also change the dates, be sure to [save] after making changes.

1 HOMEProducts → Product List → Go to product detail screen
2 Press the left menu production-related [Schedule] on the screen.
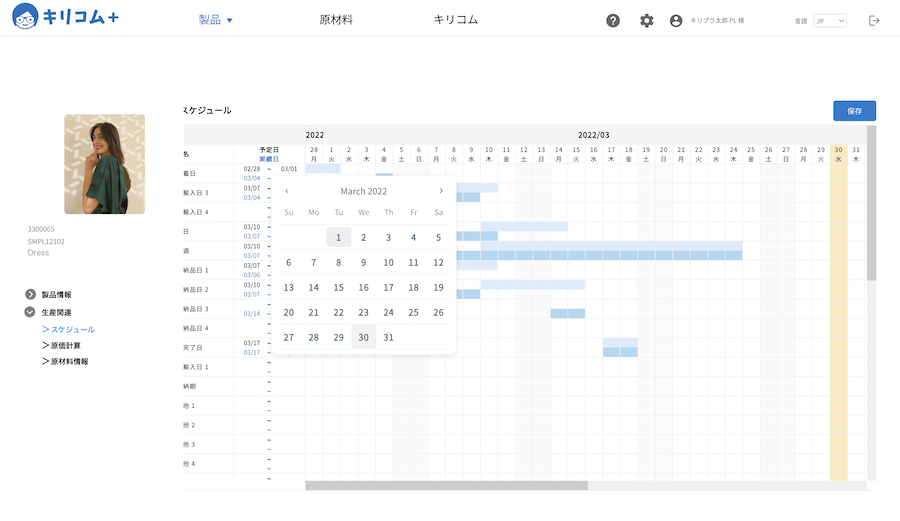
((Note: Process names must be registered in advance in the “progress control item” master)
3 Register scheduled and actual dates (selected by calendar)
4 [Press [Save] to reflect the results in the table.