Categories
docs

Register production status

Register production status

You can register countries such as overseas business partners.

1 Go to ⚙ mark in the upper menu → Product Related [Production Status] → Production Status List screen

2 Press [+New Registration] in the upper right corner of the screen.

3 Register production status name and color

Categories
docs

Register your country

Register your country

You can register countries such as overseas business partners.

1 Go to ⚙ mark on the top menu → Product Related [Country] → Country List screen

2 Press [+New Registration] in the upper right corner of the screen.

3 Displaying the Country Registration Screen

Register country code and country name.
The country name is a required field.

Categories
docs

Kilipla sewing specifications: automatically classifies the type

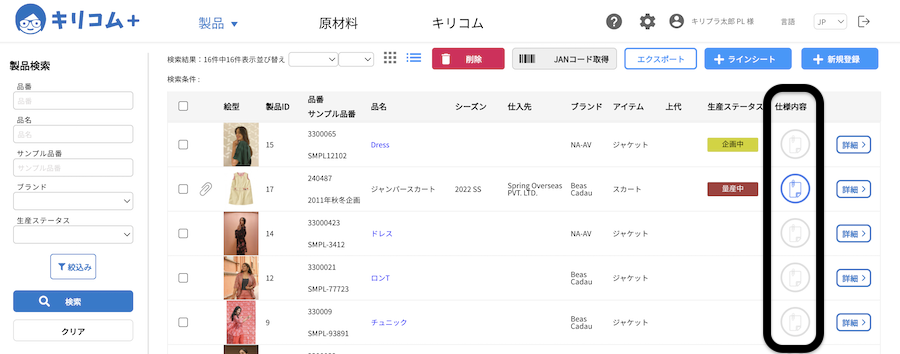
Kirikom Pluss sewing specifications are packed with know-how to make daily operations easier.
We often receive requests from apparel companies,
The “I usually use Excel to freely create frames and bold lines for each specification sheet type.
We would like the sewing factories to use the same wording in their systems for easier understanding.”
It is called.

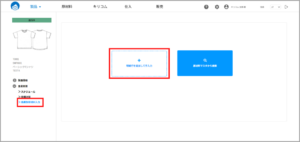
What is easy to do in Excel may be difficult to achieve in a system,Kirikom PlusIn the sewing specifications for,
We realize our customers’ requests.
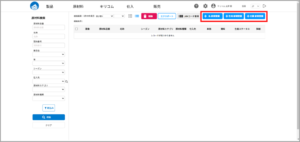
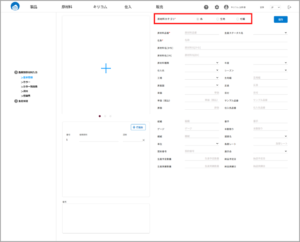
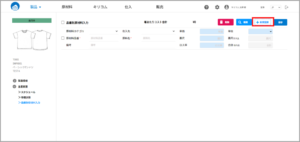
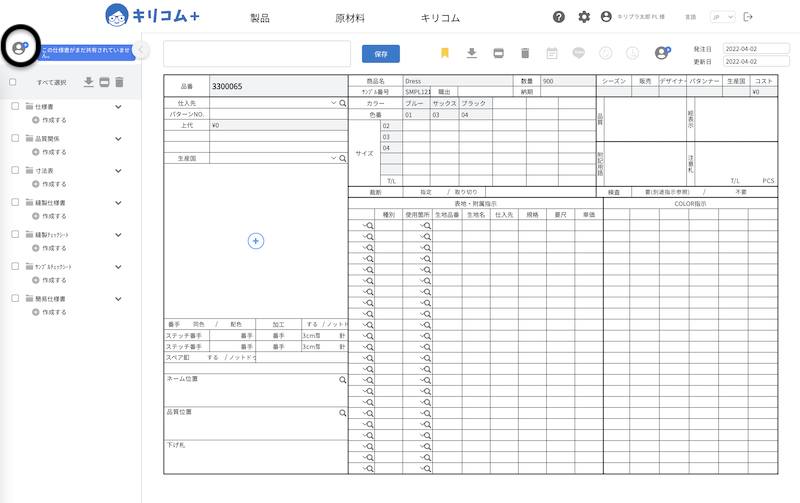
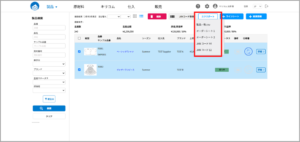
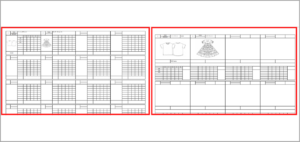
When creating a sewing specification sheet, if you select a type as required, each type will be automatically separated and a bold line will be drawn when printing or in the viewing mode.

Sewing specifications should be written out as desired for the person making the garment, and should be clear, easy to understand, and clean for the person viewing it, so we will continue toKirikom PlusWe will continue to enhance and improve all functions.


Categories
docs

Create HTML for dimension tables

Create HTML for dimension tables

1 HOMEProducts→Product List [Details]→Open the left menu of the screen [EC Information]→[Dimension Table].

2 Press the Create HTML button in the upper right corner to create it.

Categories
docs

Create HTML for windage notation

Create HTML for windage notation

1 HOMEProducts→Product List [Details]→Open the left menu of the screen [EC Information]→[Dimension Table].

2 Press the Create HTML button in the upper right corner to create it.

Categories
docs

Register new raw materials

Register new raw materials

1 HOMERaw Materials→New Registration for each Raw Material or Raw Material List→Click [+New Registration] button on the upper right corner, select the desired raw material category, and press the button.


Make sure that the main raw material category is the one you selected on the registration screen.
Register each item and click [Save].
The raw material part number and raw material name are required items.

Categories
docs

Enter raw materials by part number

Enter raw materials by part number

1 HOMEProducts→Product List [Details]→Product DetailsPress the product-related [Raw Material Information] on the left menu
Go to the screen for registering raw materials, press [+Add line to enter raw material] to move to the list.
(It is also possible to register from the registered raw material master)

2 Press [+ New Registration] in the upper right corner to display a frame for registration.

Register the item and press [Save].

Categories
docs

Share specifications

Share specifications

1 HOME Products→Product List→Press the 📄 icon for the specifications you want to share.

KIRIKOM PLUS縫製仕様書作成

2 Go to the specifications screen

From the left menu, enter ✔︎ in the specifications you want to share and press the icon in the upper left corner.

KIRIKOM PLUS縫製仕様書アイコン

3 Add the email addresses of the people you want to share with, and [SHARE].

KIRIKOM PLUS縫製仕様書共有

Categories
docs

Prepare specifications

Prepare specifications

1 HOMEProducts→Push the 📄 icon of the part number for which you want to create a specification sheet from the product list.
KIRIKOM PLUS縫製仕様書作成

(Light gray icons for part numbers without specifications, blue for those with specifications)

2 Go to the specifications screen

Select and create a specification from the menu on the left, then [Save].

KIRIKOM PLUS縫製仕様書

3 When a specification is created, the 📄 icon in the product list turns blue

For detailed input of each specification, please contactthis way (direction close to the speaker or towards the speaker)for more information.

Categories
docs Feature

Output a list of pictograms

Output a list of pictograms

1 HOMEProducts → Product List

Select the product you want to output from ✔︎, then select the output type.

The form of the order sheet can be selected

2 Output according to the screen