Categories
docs

How to use the production calendar

How to use the production calendar

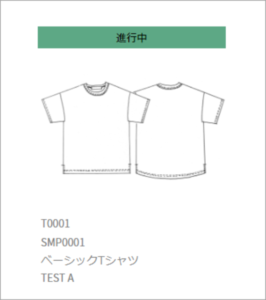
Once the production schedule is registered, the production calendar will display the image


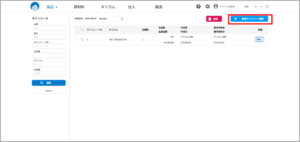
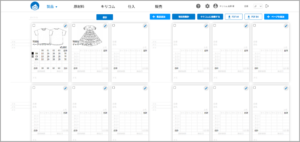
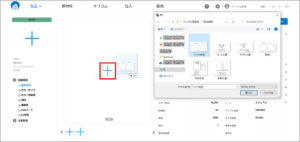
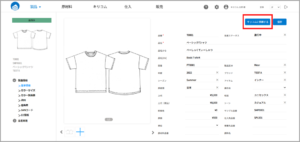
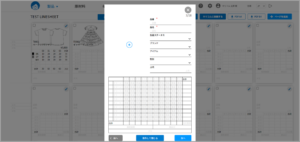
1 HOME Products → [Production Calendar].

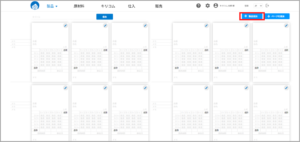
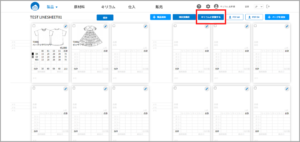
2 Go to the production calendar screen, and the image of the registered product will be displayed.
(If you have registered a schedule for a period of time, it will be displayed on the first day of the period)

KIRIKOM_Plus生産カレンダー

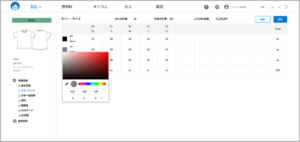
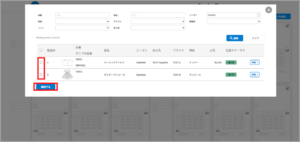
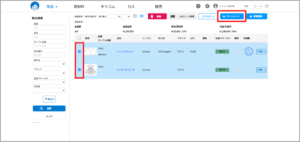
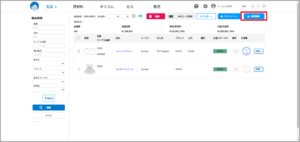
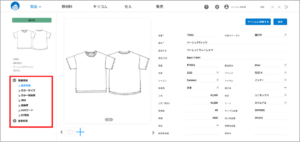
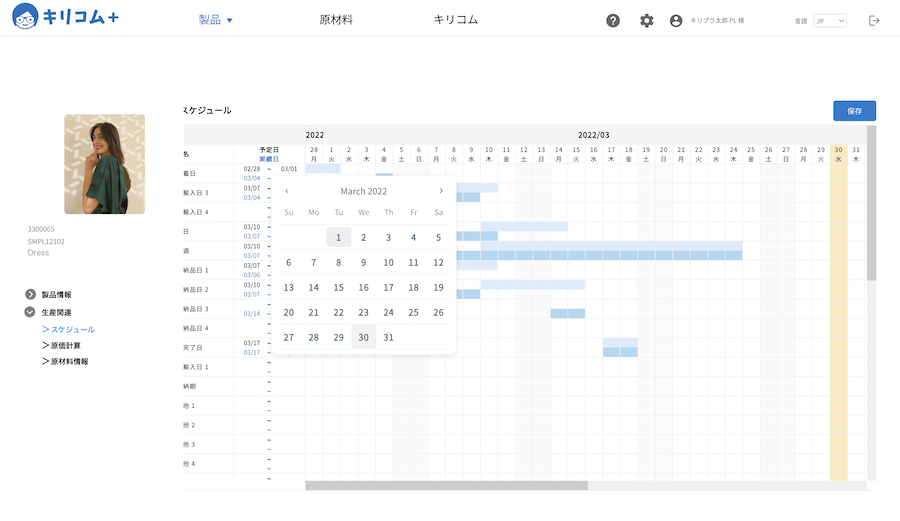
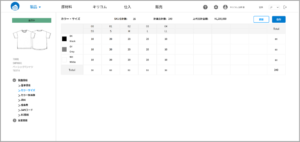
3 Press the image shown in the calendar to view the production schedule

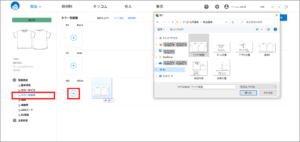
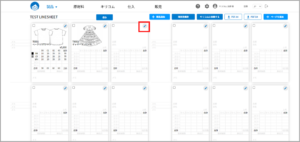
Scroll left and right to see the registered dates.
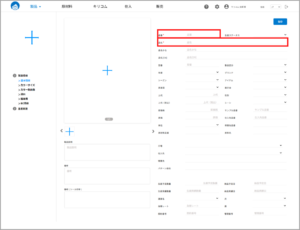
You can also change the dates, be sure to [save] after making changes.

KIRIKOM PLUS

Categories
docs

Register a production schedule

Register a production schedule

1 HOMEProducts → Product List → Go to product detail screen


2 Press the left menu production-related [Schedule] on the screen.

KIRIKOM PLUS

((Note: Process names must be registered in advance in the “progress control item” master)


3 Register scheduled and actual dates (selected by calendar)


4 [Press [Save] to reflect the results in the table.

Categories
docs

Delete product (part number)

Delete product (part number)

1 HOMEProducts → Product List (List View)

2 Check the box ✔️ and press [Delete].

3 A confirmation alert message will appear. Click “OK” to complete the deletion.

Categories
Feature

Store materials by product

Store materials by product

1 HOMEProducts → Products → Product List → Click [Document] on the left menu of the product details screen.

2 + Register and [Save] the material from

Categories
docs

Register product color size

Register product color size

To register a color size, it is necessary to register the color and size in the master
(Register in the various masters → Product Related [Color] [Size])


1 HOMEProducts → Product List → Click [Color Size] on the left menu of the product details.


2 The master registered color size is displayed. ✔︎ and [Save].

3 A table will be created. Register the quantity and click “Save” (the total will be automatically calculated when the quantity is registered).

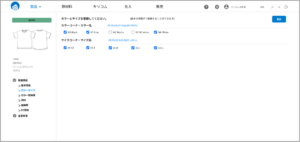
Color chips can also be changed with the color picker

4 After registration and [Save] is completed, the line sheet will reflect the new information.

Line Sheet

Categories
docs

Create a new line sheet

Create a new line sheet

line sheet

Planning information created by each person in charge can be combined into a single line sheet.
Products on a line sheet can be easily moved by dragging and dropping.

1 Press HOME (menu) line sheet.Move screen

2 Click [+Register New Line Sheet] in the upper right corner of the screen.

3 Press [+Add Product] in the upper right corner.

4 A screen appears to call products to be registered in the line sheet

Enter your search criteria in the upper row, and a list of hit products will be displayed at the bottom.

5 Check the box for the product to be added to the line sheet at ✔️ and press [Select].

6 A line sheet is created (register a title and press [Save] to complete saving).

The order (position) of each product can be moved by drag & drop


◆Line sheets can also be created from the Product List screen.

Check the products you wish to register on the line sheet, and press [+ Line Sheet] in the upper right corner.

point

Each product can only be line-sheeted once (to prevent duplication).
However, you can create them as many times as you like from [Export].

Item composition ratios, etc., can be created at the touch of a button from the created line sheet.
Categories
docs

Register a new product

Register a new product

1 Register a new product by clicking on “+New Registration” in the product list under “Products” in the HOME (Menu).

2 Register your product information.

The part number and product name are required fields.

New Registration Screen

Please register items other than part numbers and product names as necessary.

Items registered with the master are displayed in a pull-down list and can be selected for input.

Product IDs are automatically created separately from part numbers.

3 Register an image from the + mark.

To register an image, drag and drop it to the + mark, or press the + mark to select an image.

Once registered, you can request processing directly to Kiricom from [Request to Kiricom].

4 You can register more detailed information by pressing the items on the left side of the screen.

Useful items to register

production statorsea cucumber (Holothuroidea spp.)
Once registered, they are displayed in the upper left corner of the photo and can be viewed in the product list and line sheets.


Item, Brand, Gender, Estimated Production Quantity, and List Price
When a line sheet is created, the total results can be viewed in a pie chart or other format.
The results can be viewed as a pie chart or other graph.


exchange rate
Register a cost-based rate*.

Production quantity
Display in color size and line sheet will be automatically totaled. *

Product Description
You can register product descriptions to be posted on the e-commerce site. You can also register your product descriptions to be posted on the e-commerce site.

*These functions will be tied to future releases, making them even more convenient to use.
Categories
docs

Ask for Kilicom.

Ask for Kilicom.

Once you register an image, you can directly request it from [Request to Kirikom] on the same page.
(Product details, line sheets, color-specific image pages, etc.)

HOME Products→ Details Screen

HOMEProducts → Line Sheet Screen

If you wish to submit a request without registering images, please submit your request through HOME, Kirikom.


Categories
docs

Register images of products by color

Register images of products by color

+マークから画像を登録します

HOMEProducts → Product Details → Select [Product Images by Color] from the menu on the left.

A screen will appear where you can register images.

Drag and drop the image to the “+” mark, or press the “+” mark to select the image.

After registering the image, click the “Save” button in the upper right corner to complete the process.

Categories
docs

Registering images on the line sheet

Registering images on the line sheet

Register an image from the + mark

Press the Edit button on the line sheet to display a screen where you can register images

Drag and drop the image to the + mark, or press the + mark to select the image.

After registering the image, click the “Save” button to complete saving.